The Fender Deluxe Reverb is a timeless amplifier with a storied history, and can be heard across countless recordings covering a variety of musical styles and genres.
First introduced by The Fender Music Corporation in 1963, this 22 watt amplifier has been through many iterations during its long running lifespan; and is considered by some to be one of Fender’s most beloved designs for its chiming clean and gnarly overdriven tones.
Featuring 2 6V6 power tubes, 4 12AX7 preamp tubes, 1 GZ34/5AR4 rectifier tube, and 2 12AT7 tubes for the reverb circuit; this amplifier is a design that oozes a touch sensitive and bell-like tonal response which has made it one of the most recorded amplifiers of all time. Today we’re going to make this amp sing.
How to dial in your Deluxe Reverb for a great recorded tone in a studio environment with both clean and dirty tones.
Before we get started, make sure your guitar is properly set up for your desired tuning, and that you change your strings and check the intonation. This is crucial for delivering the best possible recorded tone from your instrument before it even hits the amplifier.
Now that your guitar is freshly restrung and intonated, let’s get started.
The Fender Deluxe Reverb has a beautiful and legendary clean sound, and some of the best sounds this amplifier generates can be found in these lower gain regions. It also handles drive pedals incredibly well, and throwing a Tubescreamer, Klone, or any other high quality dirt box in the signal chain typically yields a smooth and open drive response.
Start by plugging into the Vibrato Channel (channel 2) on the amplifier, and set your volume around 2-3 with the Bass and Treble controls around 5. Listen to the overall balance and response of your guitar and how it’s interacting with the amp in the room.
Our goal here is to get the amp sounding and feeling great to you before we mic the cabinet and hit record.
Typically the Deluxe Reverb circuit generates quite a bit of bass, so you might need to roll this control back depending on your guitar and pickups. This amp is also -very- loud, so make sure to keep the volume lower while you find the balance between the treble and bass response and also remember to wear hearing protection. This will also keep the amp in lower gain territory as it will start to break up the more we drive the Volume knob.
If you want more gain from the amp before adding pedals into the signal path, tweak the Volume knob until you start to hear the amp break up.
This will get loud……make sure to wear hearing protection!
What you should be hearing once the amp is pushed is that sought after “tube saturation” that we guitarists obsessively chase, with a slightly compressed top end and earthy growl in the midrange. This tube saturation is a thing of beauty, and is yet another amazing sound that can be produced from the Deluxe Reverb.
There are also the Reverb, Speed, and Intensity knobs to consider as well. The Reverb control on the amp dictates how much of the lush tube reverb is added to the signal. This is a very powerful control, and can go from slightly damp to soaking wet reverb sounds. Dial in the appropriate amount for your project, and then we will check out the Vibrato controls.
The Speed and Intensity controls affect the Vibrato on the amplifier when plugged into the Vibrato channel. These expansive controls can add a subtle throb to the tone, or can be ramped up to add chaotic warbles to your sound. This effect is typically used to add movement and depth, and is easy to overdo in a mix. Use these controls with care, but don’t underestimate the powerful tonal palette available here.
Remember to experiment with all the variables on the amplifier and in the signal path…….if it sounds good, it is good!
Once we have the amp vibing the way we want it to in the room with the desired tone, it’s time to mic the speaker.
Typically the Deluxe Reverb comes with a 12” speaker, and this should generate a bold and well balanced sound without being too boxy or too bright. Your choice of speaker here will also drastically shape your tone, so make sure to choose the speaker that best suits your desired end goal.
For cleaner sounds, a Jensen C12Q or a Mojotone Anthem AN12 are excellent choices for a wide open and bell-like tone.
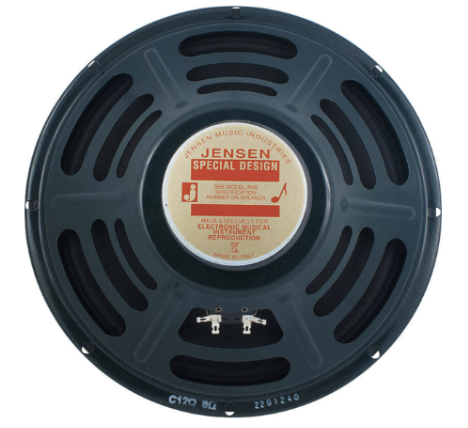
Jensen C12Q
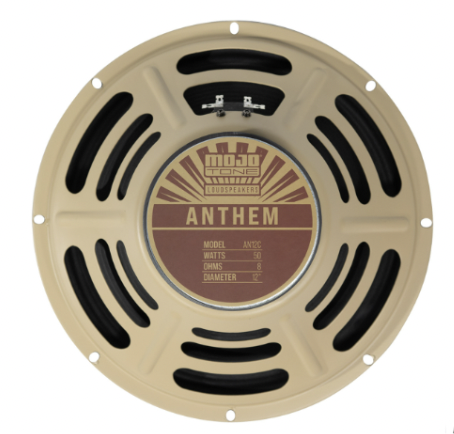
Mojotone Anthem AN12C
For something more authoritative in the higher gain regions, a higher efficiency speaker like an Eminence Swamp Thang or Celestion Alnico Cream might be a better option to tame the bright quality of the amp when driven hard.
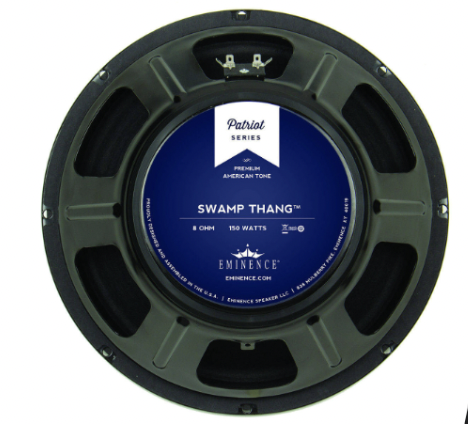
Eminence Swamp Thang
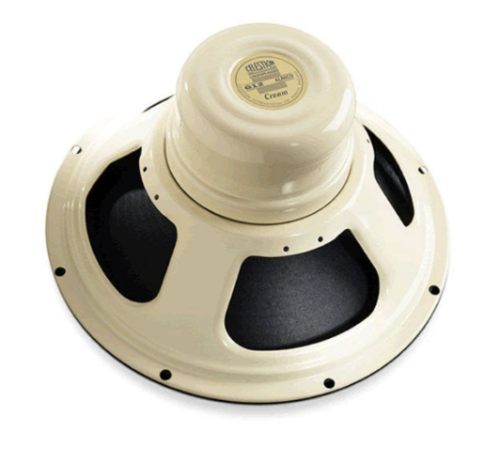
Celestion Alnico Cream
I typically like to place my microphone of choice right on the grill of the cabinet just on the outer edge of the center dust cap of the speaker. The SM57, Sennheiser e609, or a similar dynamic mic is a great place to start here. This typically gives me a well balanced sound right out of the gate, but sometimes I need to adjust the mic position depending on what I’m hearing in my DAW.
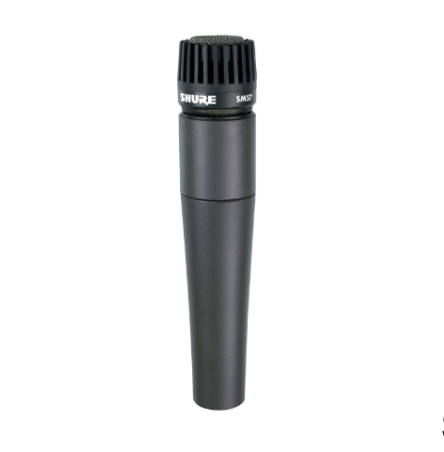
Shure SM57
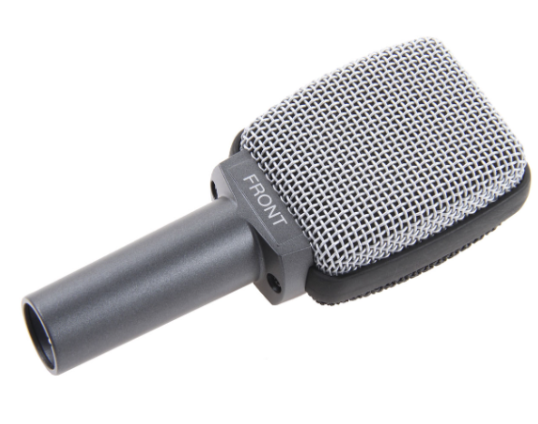
Sennheiser e609
The closer you place the microphone to the grill, the more overall low end bass response you will hear. Moving the mic back further away from the grill will lessen the low end response and allow more “room” or “air” to be heard in the signal.
If your recorded tone is too bright, move the microphone more towards the outer edge of the speaker. You should hear your tone get darker the further you move away from the center of the cone.
Inversely, moving your microphone closer to the center of the speaker will add brightness to your tone.
Check out Fig.1 for an example of how mic position affects the tone.
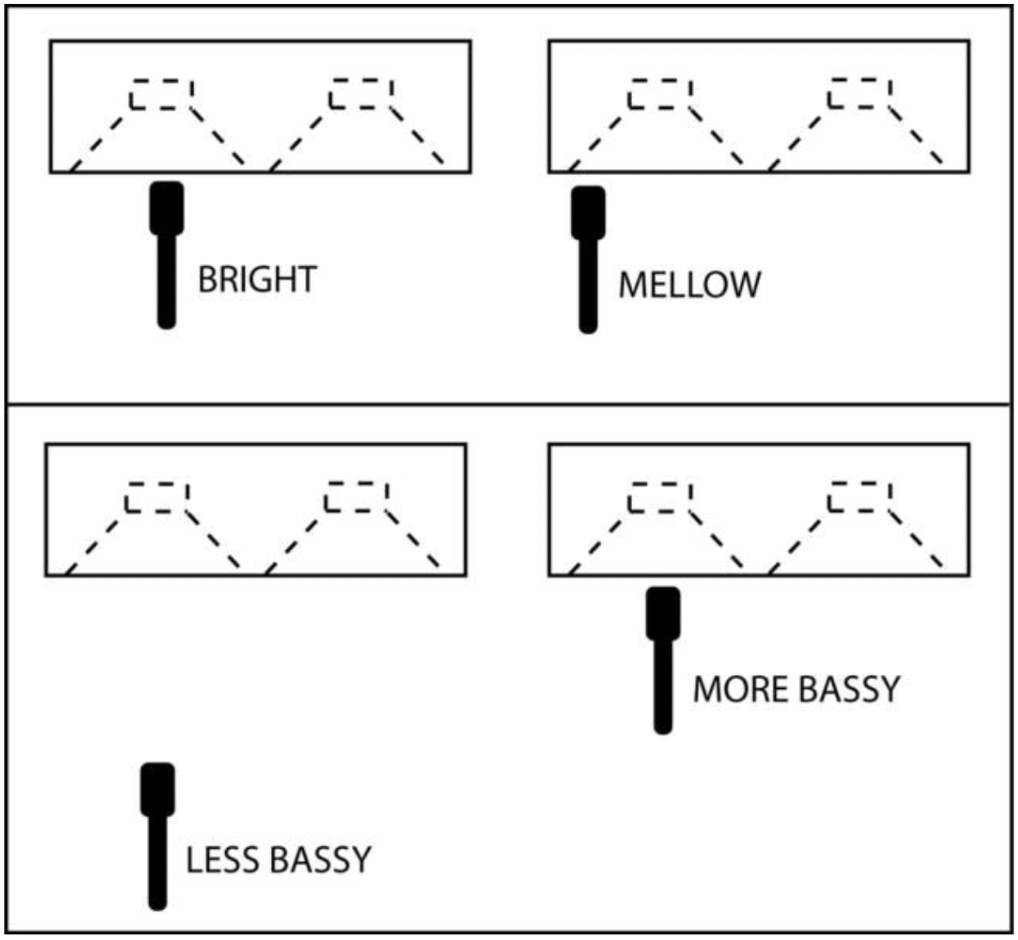 Fig. 1
Remember the mic “hears” the speaker differently than you do when standing in the room with the amp, so small moves translate to big tonal changes here.
Once you’ve placed the mic and are happy with the amp settings, you should be ready to get rolling with your recording.
Ask yourself what is working with the tone, and what potentially needs to be adjusted. Listen for a build up in the low mids or any high end harshness. Ask yourself how the tone makes you feel, and if it’s the right tone for the recording project.
Tweak all of the variables that “touch” the signal including your guitar, pickups, strings, pedals, cables, amplifier settings, speaker, or microphone until you find yourself with a stellar tone that sounds great in the mix.
Ask yourself “what does my tone need?” and “how does it make me feel?”. These questions should help guide your decisions on crafting the perfect tone from your Deluxe Reverb for your next recording project.
Thank you for hanging, and I hope this article can better help you dial in the Deluxe Reverb and help you find your tone.
Cheers!
About the author:
Worth has over 25 years invested in the music industry as a touring guitarist, producer, and recording studio owner/engineer (Red Room Recording) in Wilmington, NC; and currently plays in multiple bands. He is currently an audio engineer at gear company Mojotone.
